Garlic is a kitchen staple, prized for its pungent flavor and versatility in cooking. But did you know you can regrow garlic from a single clove, turning a small piece of your pantry into a thriving plant? Regrowing garlic is a rewarding, sustainable way to cultivate your own supply, whether you’re an experienced gardener or a beginner looking to dip your toes into homegrown produce. This comprehensive guide will walk you through the process of regrowing garlic from a clove, covering everything from selecting the right clove to harvesting your homegrown bulbs. By the end, you’ll have the knowledge and confidence to grow garlic in your backyard, on a balcony, or even indoors.
Why Regrow Garlic?
Before diving into the how-to, let’s explore why regrowing garlic is worth your time. Garlic (Allium sativum) is a low-maintenance crop that thrives in various climates, making it an excellent choice for home gardeners. Regrowing garlic from a clove is cost-effective, reduces food waste, and allows you to enjoy fresh, organic garlic without the grocery store price tag. Plus, growing your own garlic gives you control over the cultivation process, ensuring no harmful pesticides or chemicals end up in your food.
Garlic also offers health benefits, including immune-boosting properties and anti-inflammatory compounds. By regrowing garlic, you’re not just cultivating a culinary ingredient but also investing in a sustainable, health-conscious lifestyle. Whether you have a spacious garden or a small apartment, garlic’s adaptability makes it an accessible crop for anyone.
What You’ll Need
To regrow garlic, you don’t need fancy equipment or extensive gardening experience. Here’s a list of the basic supplies:
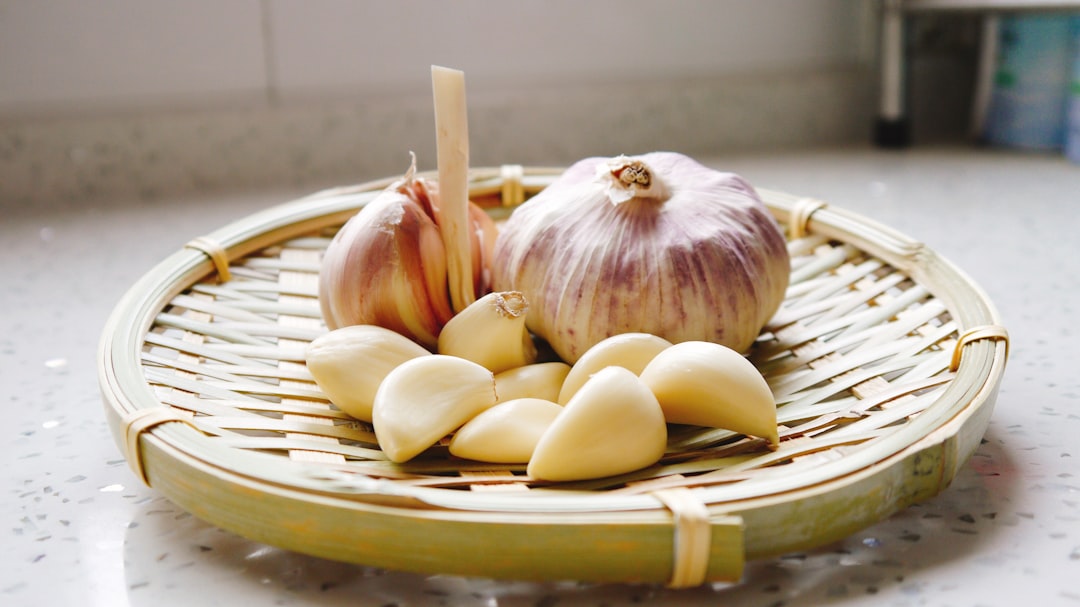
- Garlic cloves: Choose organic, healthy cloves from a bulb purchased at a grocery store, farmer’s market, or nursery. Avoid cloves that are soft, moldy, or sprouted prematurely.
- Potting soil: Use well-draining soil rich in organic matter. A mix of compost, peat moss, and perlite works well.
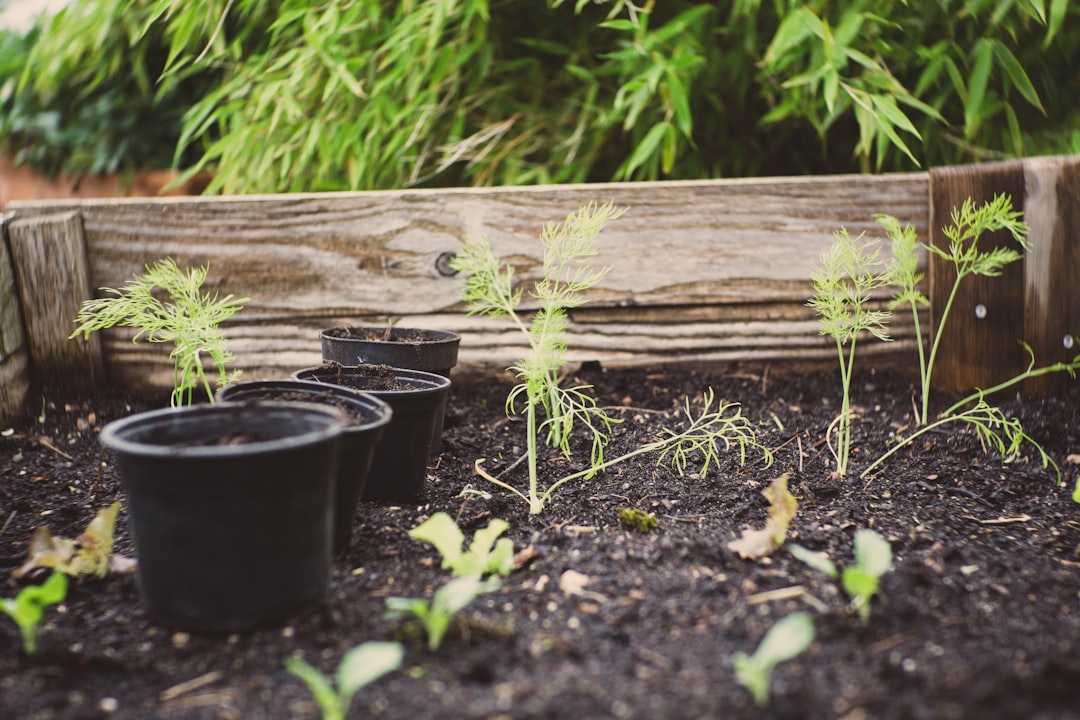
- Container or garden bed: For container gardening, select a pot at least 8 inches deep with drainage holes. For outdoor planting, ensure the garden bed gets full sun.
- Watering can or spray bottle: For gentle watering to avoid disturbing the cloves.
- Mulch (optional): Straw, grass clippings, or shredded leaves to insulate outdoor plants.
- Sunlight: Garlic needs 6–8 hours of direct sunlight daily.
- Patience: Garlic takes 8–10 months to mature, so this is a long-term project.
Step-by-Step Guide to Regrowing Garlic
Step 1: Choose the Right Garlic Clove
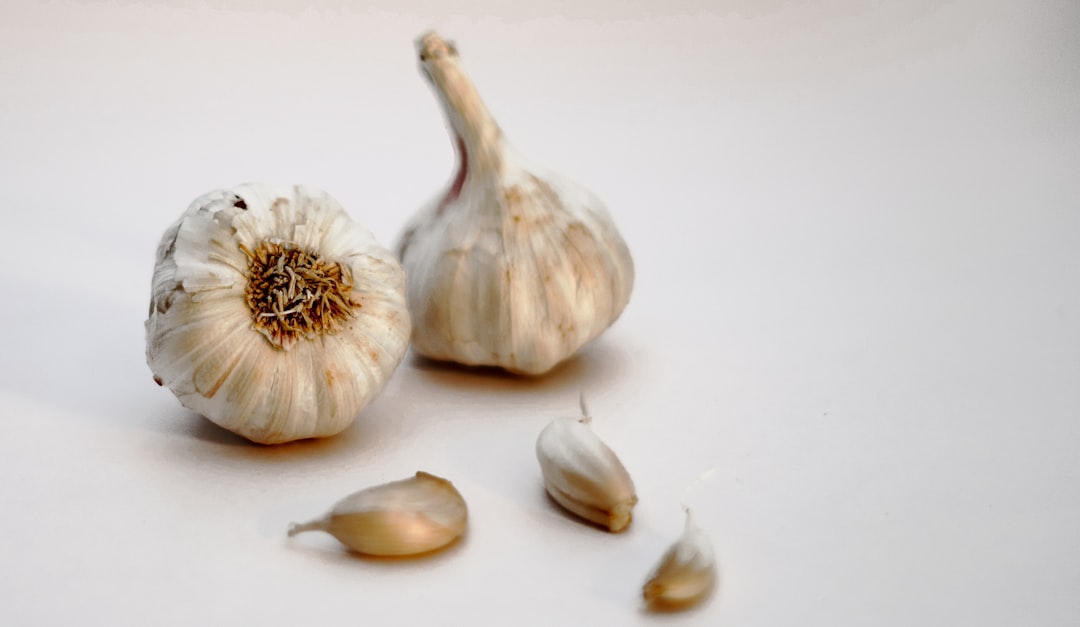
The success of your garlic crop starts with selecting the right clove. Each clove you plant will grow into a full bulb, so quality matters. Opt for organic garlic, as conventionally grown garlic is often treated with sprout inhibitors that can hinder growth. Look for cloves that are firm, plump, and free of blemishes or mold. If you’re buying from a nursery, choose a variety suited to your climate—hardneck garlic thrives in colder regions, while softneck varieties are better for milder climates.
Separate the cloves from the bulb just before planting, keeping the papery skin intact. Each clove has a flat end (the root side) and a pointed end (the sprout side). You’ll plant the clove with the pointed end facing up, so take note of its orientation.
Step 2: Prepare the Planting Site
Garlic grows best in well-draining soil with a pH between 6.0 and 7.0. If you’re planting in a garden bed, loosen the soil to a depth of 12 inches and mix in compost or aged manure to boost fertility. For container gardening, fill a pot with a well-draining potting mix, leaving about an inch of space at the top.
If you’re planting indoors, choose a sunny windowsill or use grow lights to provide adequate light. Indoor garlic may not produce bulbs as large as outdoor crops, but you can still harvest garlic greens for culinary use.
Step 3: Plant the Cloves
Timing is crucial when planting garlic. Outdoors, plant in the fall (September to November) for a summer harvest, as garlic needs a period of cold to form bulbs. In milder climates, you can plant in early spring, though bulbs may be smaller.
To plant:
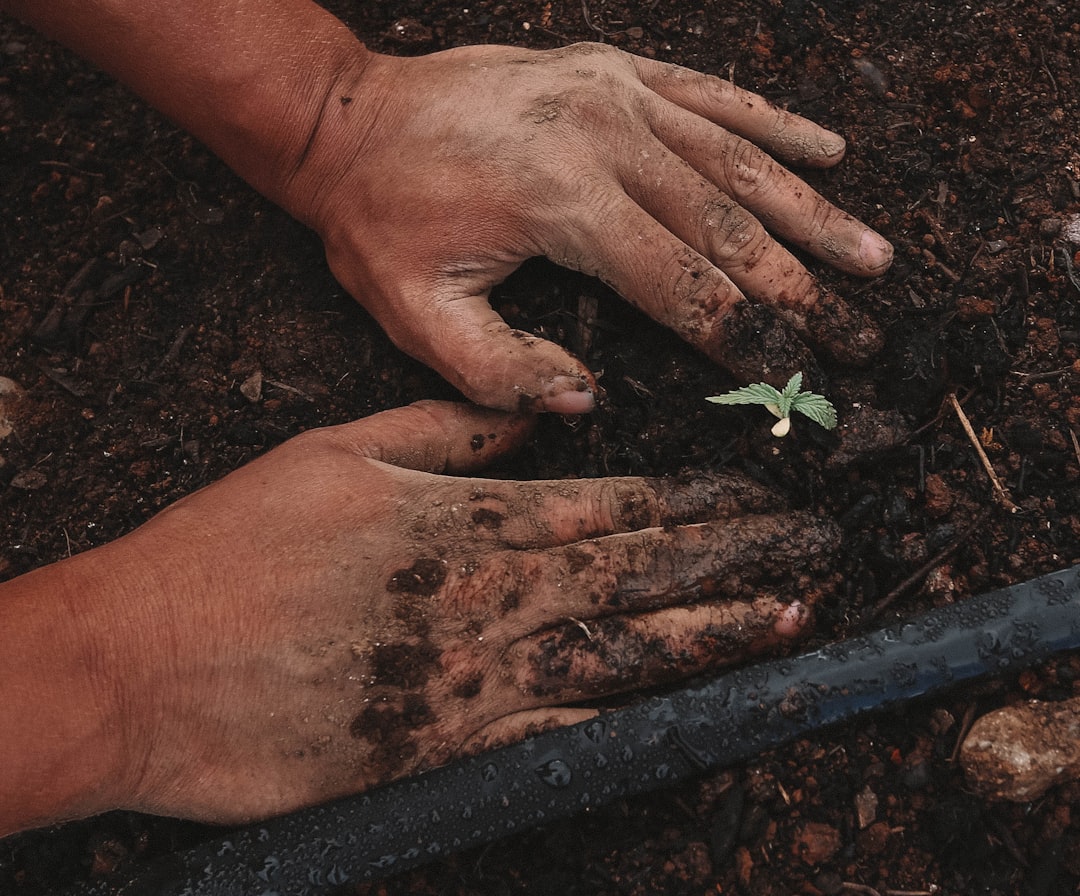
- Dig holes or furrows 2 inches deep and 4–6 inches apart.
- Place each clove in the hole, pointed end up, and cover with soil.
- Water gently to settle the soil.
If using a container, plant cloves 4 inches apart, ensuring the pot has drainage holes to prevent waterlogging. For indoor planting, follow the same spacing and depth guidelines.
Step 4: Care for Your Garlic Plants
Garlic is relatively low-maintenance, but proper care ensures healthy growth. Here are the key aspects of garlic care:
- Watering: Keep the soil consistently moist but not soggy. Water deeply once or twice a week, depending on rainfall and temperature. Reduce watering in late spring as the bulbs mature.
- Sunlight: Ensure your garlic gets 6–8 hours of direct sunlight daily. If growing indoors, supplement with grow lights if natural light is insufficient.
- Weeding: Remove weeds promptly, as they compete with garlic for nutrients and water.
- Mulching: Apply a 2–4-inch layer of mulch (straw or shredded leaves) to outdoor beds to regulate soil temperature and retain moisture. Remove mulch in spring to allow the soil to warm.
- Fertilizing: Feed garlic with a balanced fertilizer (e.g., 10-10-10) or compost tea every 4–6 weeks during the growing season. Stop fertilizing a month before harvest.
Step 5: Monitor Growth and Address Issues
As your garlic grows, you’ll notice green shoots emerging from the soil within a few weeks. These shoots will develop into sturdy stalks. For hardneck varieties, you may see curly, flower-like structures called scapes in late spring. Cut these off to redirect energy to bulb development—scapes are edible and make a delicious addition to stir-fries or pestos.
Watch for common issues:
- Pests: Aphids and thrips may target garlic. Use neem oil or insecticidal soap to manage infestations.
- Diseases: Fungal diseases like white rot can affect garlic in poorly drained soil. Ensure proper drainage and avoid overwatering.
- Yellowing leaves: This is normal as the plant matures, but early yellowing may indicate nutrient deficiency or overwatering. Adjust care accordingly.
Step 6: Harvest Your Garlic
Garlic is typically ready to harvest 8–10 months after planting, usually in late spring or early summer. Look for these signs:
- The lower leaves turn yellow or brown.
- The stalks begin to dry and fall over.
To harvest:
- Gently loosen the soil around the bulbs with a garden fork, being careful not to damage them.
- Pull the bulbs from the soil and shake off excess dirt.
- Lay the bulbs (with stalks attached) in a dry, well-ventilated area to cure for 2–4 weeks. This process hardens the outer skin and extends storage life.
- Once cured, trim the roots and cut the stalks about an inch above the bulb.
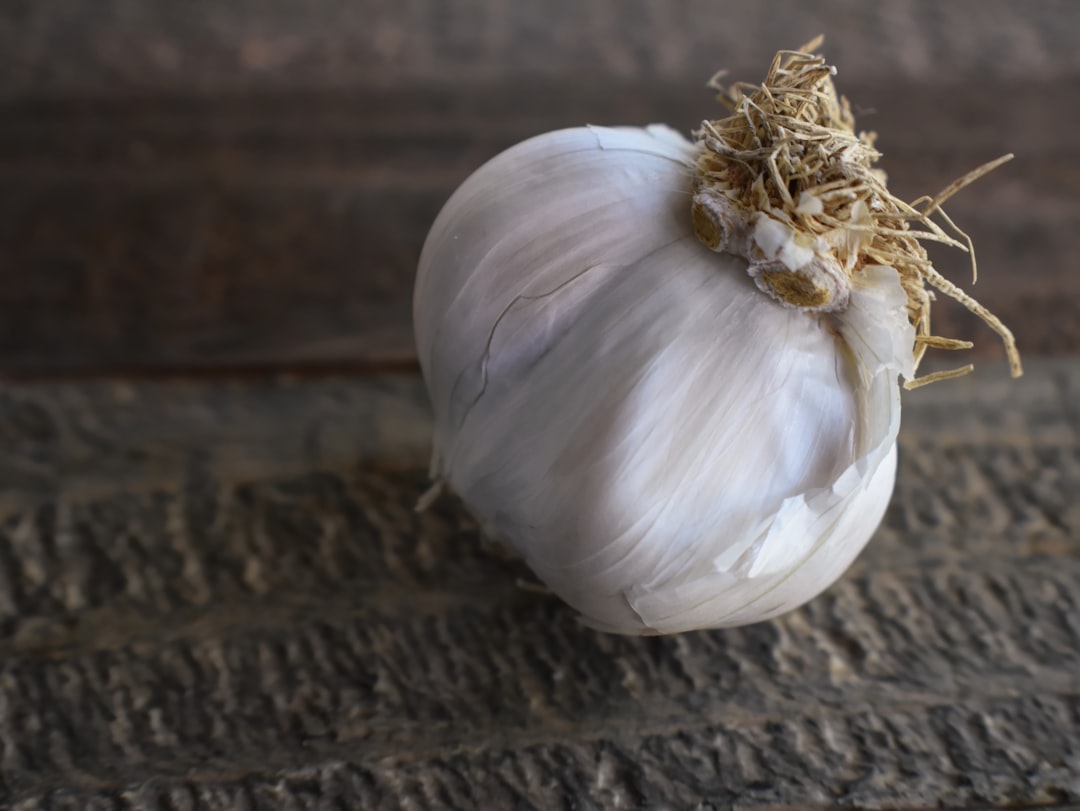
Store your garlic in a cool, dry place with good air circulation. Properly cured garlic can last 6–12 months.
Step 7: Regrow Again
The beauty of regrowing garlic is that it’s a self-sustaining cycle. Save a few of your healthiest bulbs from the harvest to plant the next season. Select the largest, most robust cloves to ensure strong plants. By repeating this process, you can maintain a continuous supply of homegrown garlic year after year.
Tips for Success
-
- Experiment with varieties: Try different garlic types, such as Purple Stripe or Rocambole, to discover flavors and growth habits that suit your palate and climate.
-
- Use garlic greens: If you’re growing indoors or want an early harvest, snip the green shoots for a mild, chive-like flavor in salads or garnishes.
-
- Rotate crops: If planting in a garden bed, avoid growing garlic in the same spot for consecutive years to prevent soil-borne diseases.
-
- Start small: If you’re new to gardening, begin with a few cloves in a pot to build confidence before scaling up.
Common Mistakes to Avoid
-
- Planting damaged cloves: Always inspect cloves for signs of rot or mold before planting.
-
- Overwatering: Too much water can cause bulbs to rot. Ensure proper drainage and water only when the soil feels dry.
-
- Planting at the wrong time: Fall planting is ideal for most climates, as garlic needs cold exposure to form bulbs.
-
- Harvesting too early: Wait until the leaves yellow and the stalks dry to ensure fully developed bulbs.
Environmental and Economic Benefits
Regrowing garlic isn’t just good for your kitchen—it’s good for the planet. By growing your own food, you reduce reliance on commercially produced garlic, which often involves long-distance transportation and chemical inputs. Homegrown garlic minimizes your carbon footprint and supports sustainable living. Additionally, regrowing garlic saves money, as a single bulb can yield multiple plants, each producing a new bulb.
Conclusion
Regrowing garlic from a clove is a simple, rewarding project that anyone can tackle. With minimal supplies and a bit of patience, you can transform a single clove into a thriving plant, yielding fresh, flavorful bulbs for your culinary creations. Whether you’re planting in a garden, a pot, or a windowsill, garlic’s adaptability makes it an ideal crop for gardeners of all levels. Follow the steps outlined in this guide, and you’ll be harvesting your own garlic in no time. So, grab a clove, get planting, and enjoy the satisfaction of growing your own food!
